
Last updated August 25, 2026
Free visual inspection and a written scope of work before any mitigation begins - photos, moisture readings, and drying logs go in your claim file
The scope we write is the scope we bill. Anything new gets shown to you, in writing, before we touch it.
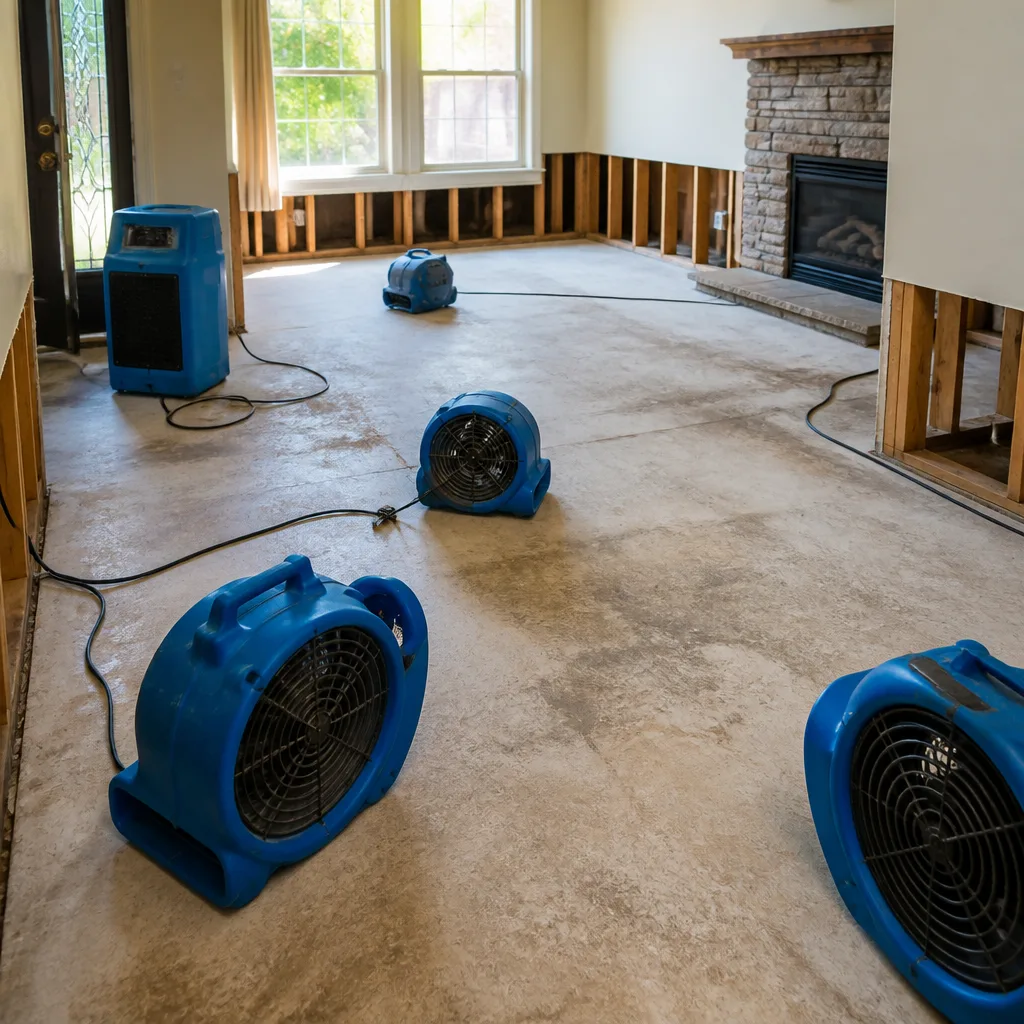

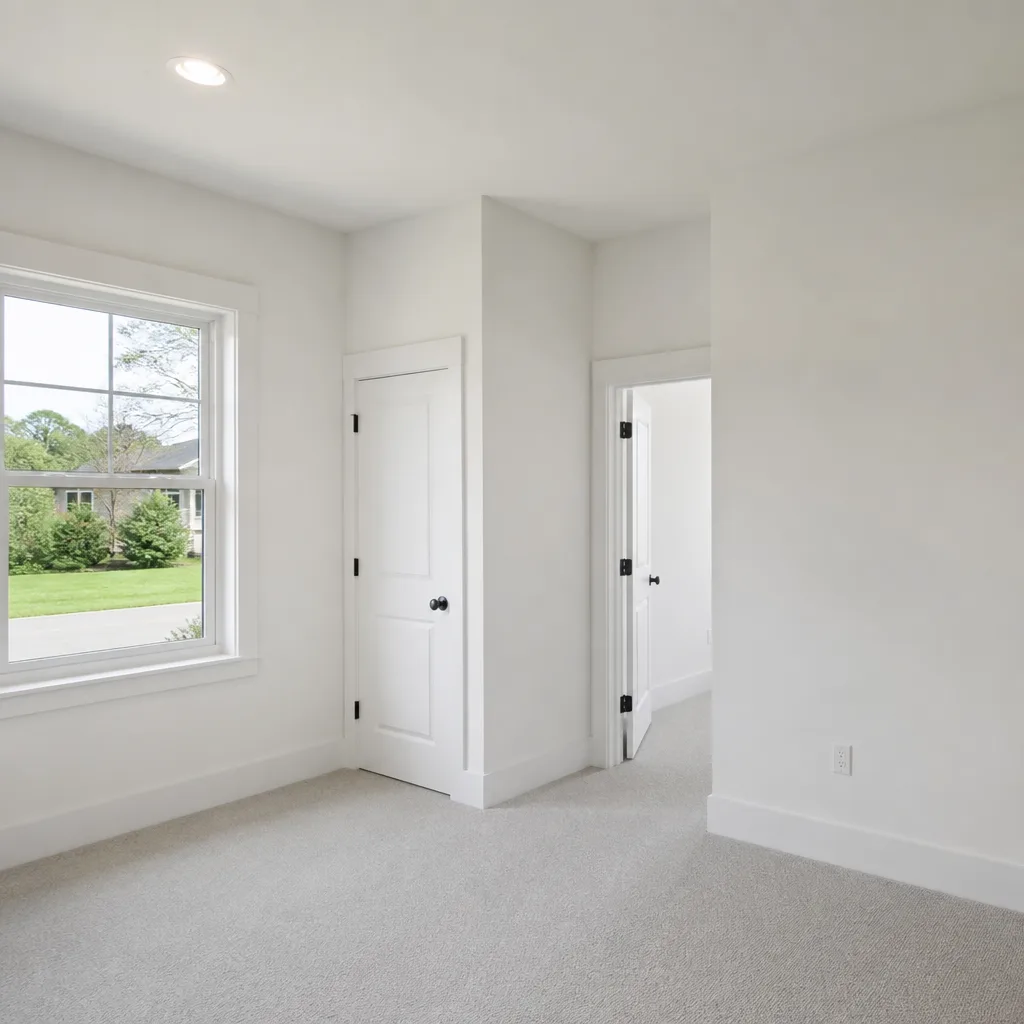

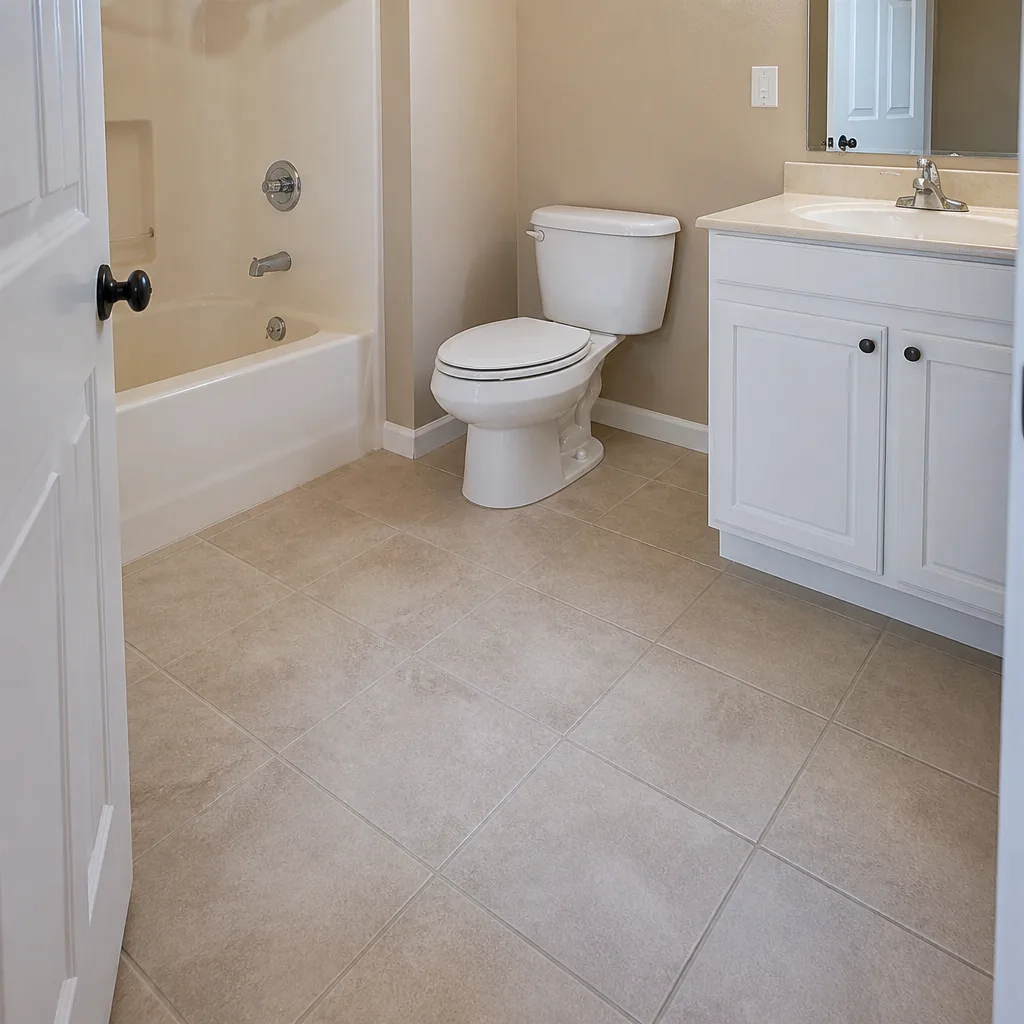

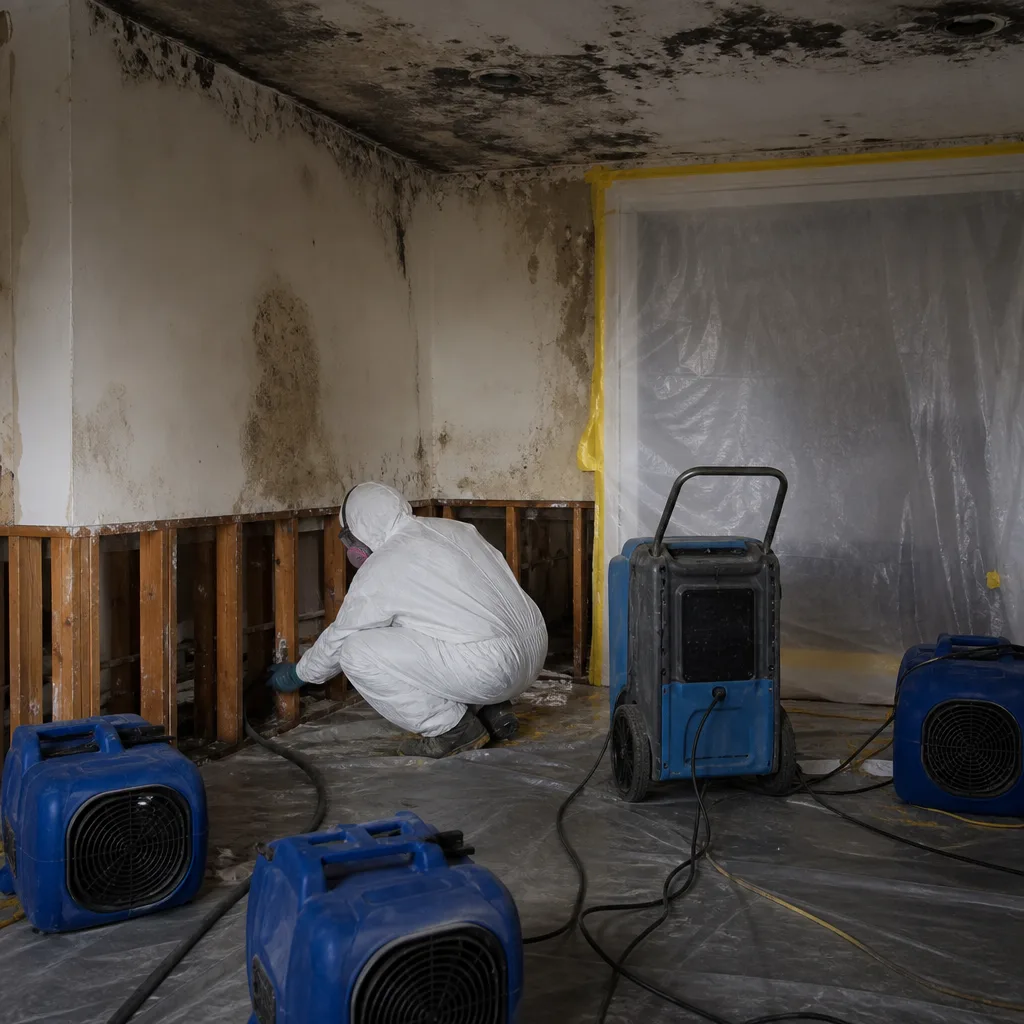 Before
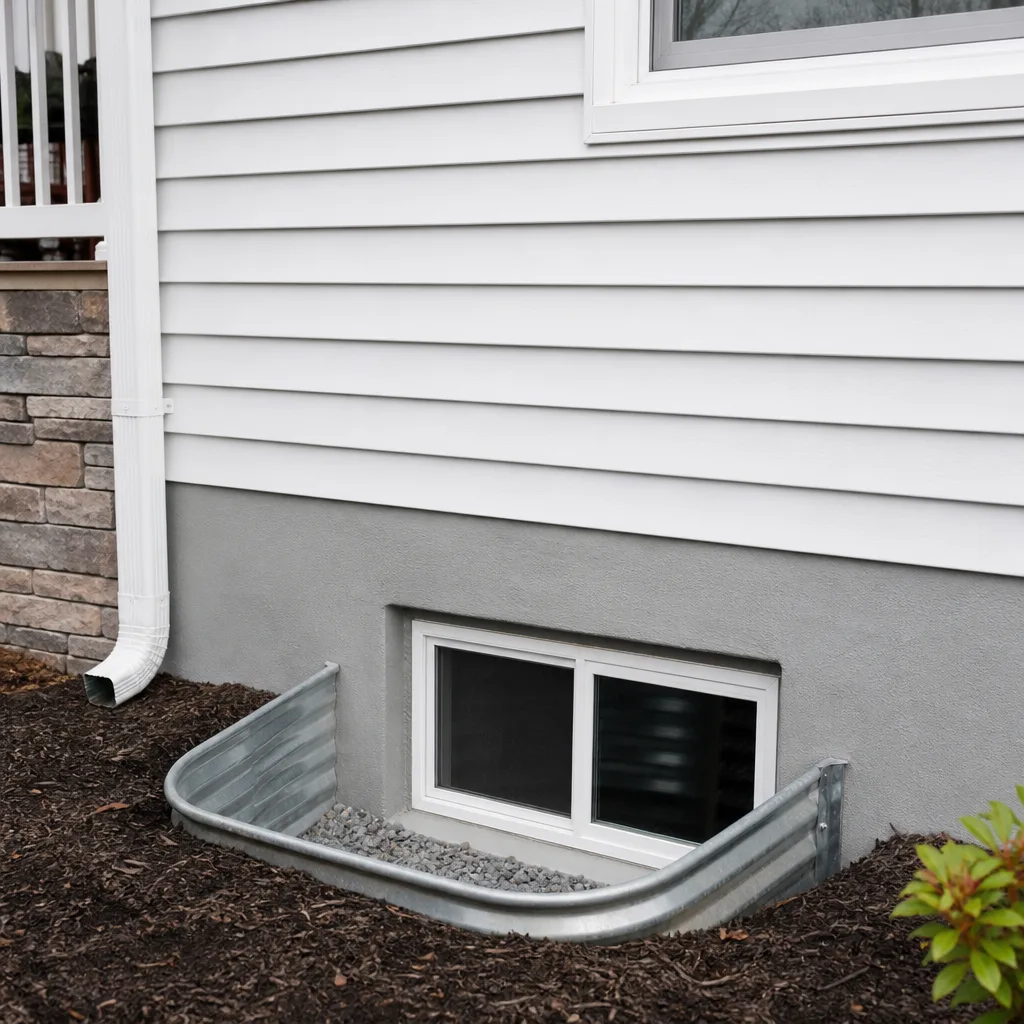 After
After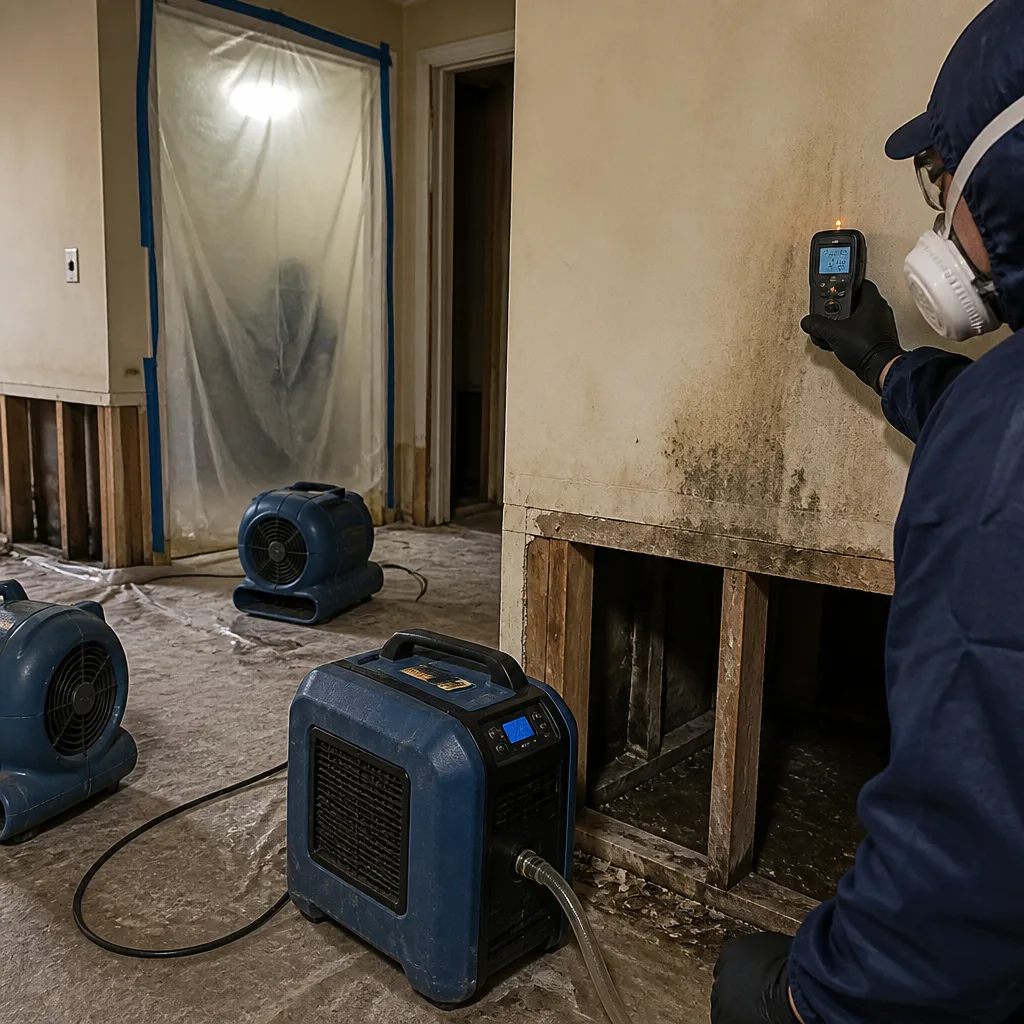 Before
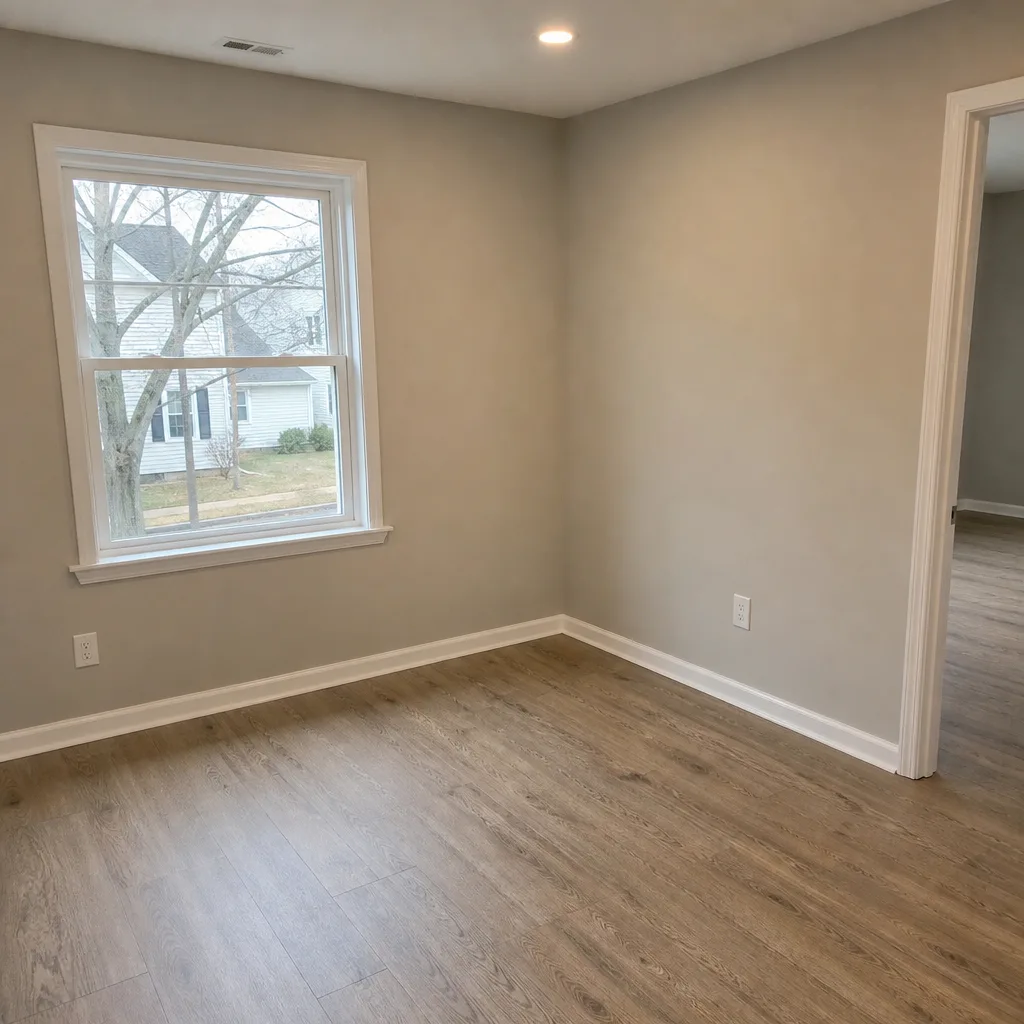 After
After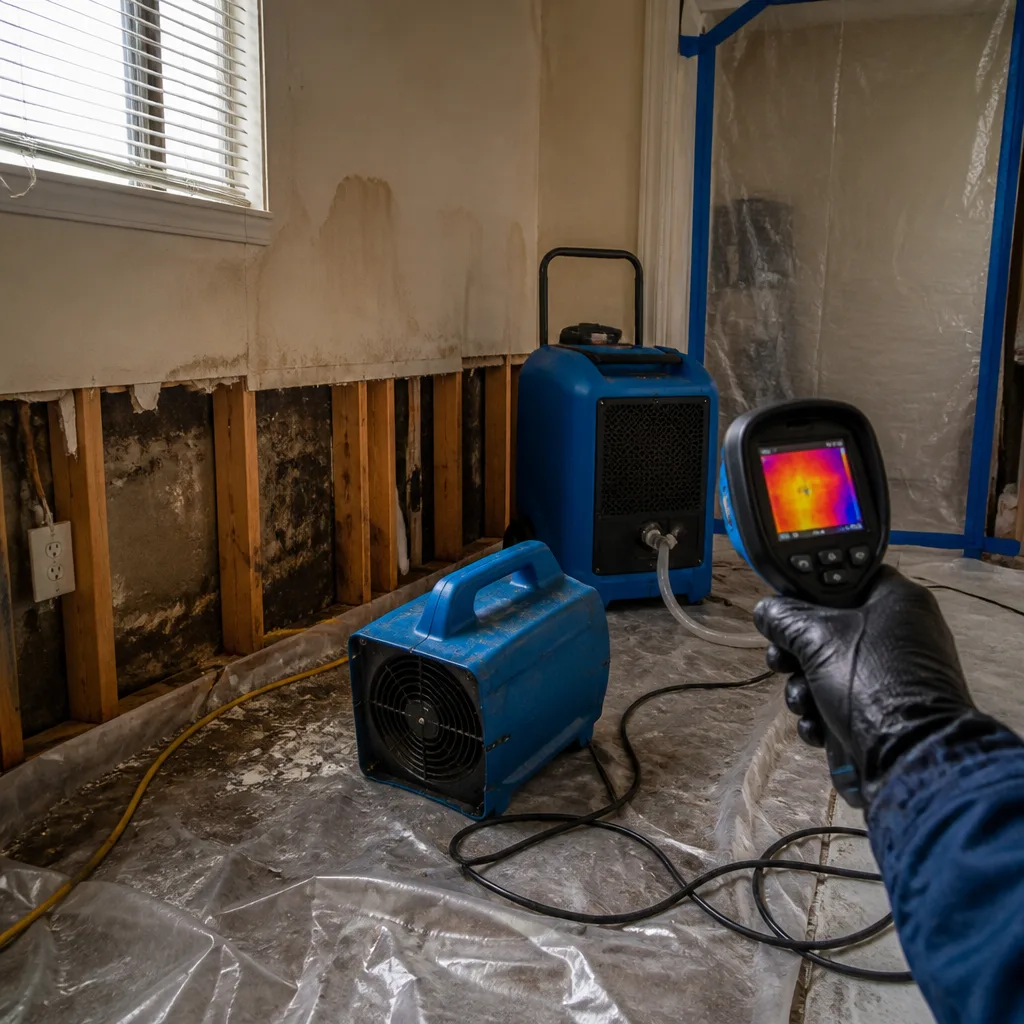 Before
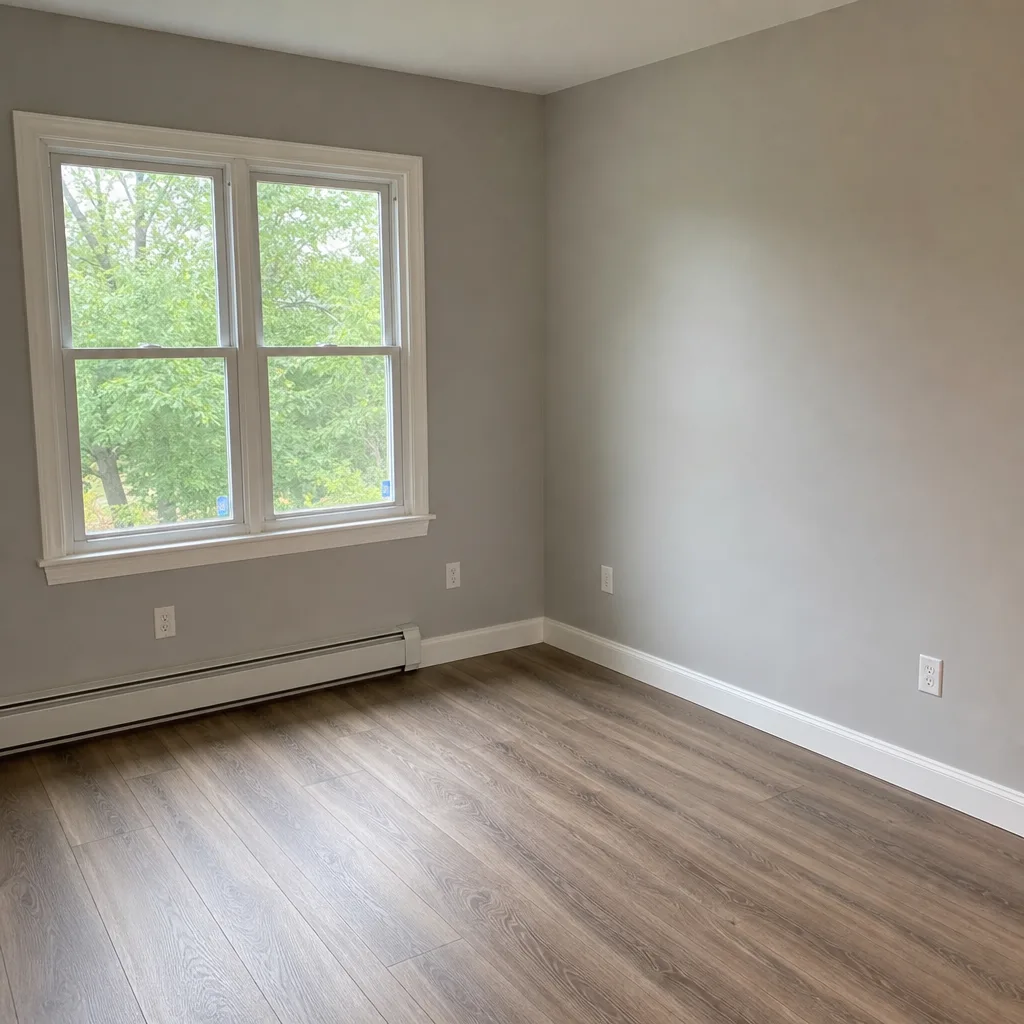 After
AfterDIY vs Professional Damage Restoration: The Lodi Homeowner’s Decision Guide
Here’s a number most homeowners never hear: according to insurance industry data, roughly 1 in 50 insured homes files a water damage claim each year. But the number that matters more is the second claim. Homes that experience one water event are significantly more likely to experience another, often because the first one was never fully dried. The moisture hidden inside a wall cavity or under a floor doesn’t announce itself. It sits there, feeds mold, warps framing, and quietly sets up the next failure. This guide walks through what a Lodi homeowner can realistically handle alone, and where the line sits where professional restoration stops being an option and starts being the only responsible choice. You’ll learn what actually happens during professional drying, what it costs, what insurance expects, and how to avoid the mistakes that turn a $2,000 cleanup into a $40,000 rebuild.
Quick Answer
DIY is reasonable for small, clean-water spills you catch immediately, roughly anything under a few gallons on hard surfaces. Professional restoration becomes the smarter choice when water has sat for more than 48 hours, when it has touched drywall, subfloor, or insulation, when the source is sewage or outside floodwater, or when mold is already visible. In Lodi, where older homes with finished basements are common, the threshold for calling a professional is lower than in newer construction.
Table of Contents
- What DIY Restoration Actually Costs in Lodi
- The Science of Drying: Why Fans and Open Windows Fail
- The 48-Hour Mold Timeline and What It Means
- Categories of Water Damage: Clean, Gray, and Black
- What Insurance Companies Actually Expect to See
- The Equipment Difference: Rental Gear vs. Professional-Grade Gear
- Hidden Damage: What You Cannot See Without a Moisture Map
- A Step-by-Step DIY Protocol (For the Genuinely Small Spill)
What DIY Restoration Actually Costs in Lodi
You won’t see a line item for “restoration” when you rent a carpet cleaner from the big-box store on Route 17. But the math on DIY water damage is mostly hidden. The visible costs are the rental unit, the cleaning solution, the trash bags, maybe a box fan or two. The invisible costs are the ones that show up six months later: the lingering smell, the buckling laminate, the baseboard that pulls away from the wall, the black spots behind the couch nobody moved.
The honest math on a small clean-water spill in Lodi, something like an overflowing sink that you catch within minutes, looks like this:
- Two rental-grade air movers for three days: $60 to $90
- Cleaning solution and towels: $25 to $40
- Your time (extraction, monitoring, re-cleaning): 6 to 10 hours
- Replacement carpet pad, if it soaked through: $150 to $400
That’s a fair gamble for a genuinely small event. But if the same water sat overnight before you noticed it, the equation breaks. Now you need to pull baseboards. You need to drill drying holes or remove drywall. You need a dehumidifier that can actually pull moisture out of a wall cavity, not just the air in the room. The rental unit from the hardware store does not have the static pressure to dry inside a wall, and no amount of open windows in a Lodi summer or winter will change that.
Professional restoration in Lodi for a moderate water event, a burst supply line or a water heater leak that ran for an afternoon, typically runs anywhere from $1,800 to $5,000 depending on how much drywall and flooring comes out. That includes the extraction, the equipment, the daily monitoring, and the documentation your insurance carrier wants to see. We write a scope before work starts, in plain language, so the number on the estimate is the number on the bill. No surprises. That’s the square deal.
The Science of Drying: Why Fans and Open Windows Fail
Open windows are not a drying strategy. They’re a humidity event. In Lodi, summer air carries enough moisture to saturate drywall on its own, and in winter, outdoor air is cold enough that it holds almost no drying capacity once it warms indoors. The physics goes like this: water moves from wet material to dry air, but only when the air can accept it. If your indoor humidity is already at 60 or 70 percent, which it often is in a wet basement, that air is full. It will not accept more moisture. The water stays in the wall.
Professional drying works on a different principle. We don’t dry rooms. We dry materials. A wet drywall cavity needs a different approach than a wet subfloor, which needs a different approach than hardwood flooring that has cupped. Each material has a drying standard, a specific moisture content at which it is considered acceptably dry. The IICRC publishes these standards, and our technicians train to them. We use Dri-Eaz and Injectidry equipment for that reason: the Injectidry system, for example, pushes air through wall and ceiling cavities under controlled pressure, drawing moisture out from inside the cavity. A box fan pointed at a baseboard does not do that. It just moves air across the surface while the moisture stays trapped behind the paint.
The other piece is measurement. You cannot dry what you cannot measure. A professional crew places moisture meters against materials every day and logs the readings until the standard is met. Homeowners using the “it feels dry to my hand” method are guessing. And the stakes on the guess are structural. Wood that reads 20 percent moisture content is not dry. It’s just not visibly wet anymore. The mold and rot don’t care how the surface feels.
The 48-Hour Mold Timeline and What It Means
Mold spores are already in your Lodi home. They’re in every home. What mold needs to grow is moisture and a food source, and drywall paper and wood framing are food. The timeline most published is 24 to 48 hours for mold germination on a wet organic surface under the right conditions. It can be slower in dry winter air and faster in August. The point is not the exact hour. The point is that the margin for completing an entire DIY dry-out is measured in a single weekend.
Here’s the sequence we see in Lodi basements and behind kitchen cabinets after a slow leak that went unnoticed:
- Hours 1-4: Water saturates drywall, carpet pad, particle board. No visible change yet.
- Hours 8-24: Adhesives release, laminate swells at the edges, carpet begins to smell musty even if no mold is visible.
- Hours 24-48: Mold spores germinate. By this point, the materials may still look fine, but the biological process has started.
- Days 3-7: Visible staining, blackening at the baseboards, confirmed mold growth. The cleanup is no longer just drying. It’s remediation.
This timeline is why speed matters, and why waiting for Monday to “call a guy” is a decision to spend more money, not less. The difference between drying a wet wall and cutting out a moldy wall is thousands of dollars and a lot more intrusion into your home.
Categories of Water Damage: Clean, Gray, and Black
Not all water is equal. Restoration professionals classify water into three categories, and the category determines whether a homeowner can reasonably handle the cleanup or whether it requires professional containment, protective equipment, and biohazard protocols.
- Category 1: Clean water. This comes from a broken supply line, an overflowing sink with no contaminants, a rain event through a fresh opening. It is safe to touch and relatively safe to clean up yourself if caught immediately and fully dried. The risk is that clean water becomes Category 2 within 24 to 48 hours as it sits in contact with building materials and normal household dust and debris.
- Category 2: Gray water. This means water that carries significant contamination. Dishwasher overflow, washing machine discharge, aquarium water, water from a sump pump that backed up. It contains biological and chemical contaminants that can cause illness on contact. DIY cleanup of gray water requires appropriate PPE and aggressive cleaning after the extraction. Most homeowners underestimate the cleaning step, and the result is an odor that never goes away.
- Category 3: Black water. Sewage backup, outside floodwater, water that has been sitting for days. This is a health hazard. Pathogens are assumed present. Anyone handling it needs full PPE, and anything porous it touches is typically removed, not cleaned. This is not a DIY category, and no responsible professional would tell a homeowner otherwise. If you have sewage backup in Lodi, call a professional immediately.
One more note on judgment: water that looks clean isn’t always clean. A supply line break in a wall that has years of accumulated dust, rodent activity, or old insulation turns Category 1 into Category 2 quickly. The category is about what the water touched and how long it sat, not just where it came from.
What Insurance Companies Actually Expect to See
Insurance carriers don’t trust a homeowner’s description of wet drywall. They trust documentation. If you do your own restoration and later file a claim, the adjuster will ask questions you may not be able to answer: What was the moisture reading on day one? What was it on day four? What drying standard did you target? Where are the photos from before the baseboards came off?
This is where the invisible value of professional restoration lives. A Floodline Restoration Co. job produces a moisture log, room by room, day by day, with the equipment running and the readings documented. That log goes to the homeowner and to the carrier. It proves the drying was complete, which protects the homeowner against a denied claim later, and it protects against the reappearing musty smell that means the job wasn’t finished.
There’s also the matter of who talks to the carrier. Most homeowners assume their insurance company will walk them through the claim. In practice, the homeowner ends up chasing paperwork, waiting on callbacks, and trying to explain technical details they don’t fully understand. Direct insurance billing should mean the restoration company handles that paperwork. Not every company does it. We do, and the homeowner never plays messenger between our crew and their adjuster.
The other important point: waiting for an adjuster to visit before starting mitigation is the most expensive mistake you can make. Every policy requires the homeowner to mitigate further damage, which means the water must be extracted and drying must start immediately. You don’t need permission to get the water out. You need documentation afterward. A reputable restoration company will handle both. The line the water left is where we start, and that line is also the beginning of your claim file.
The Equipment Difference: Rental Gear vs. Professional-Grade Gear
Walk into any home center and you’ll see air movers and dehumidifiers for rent. They look similar to what a professional crew rolls in, and on a surface level, they are similar. A fan moves air. A dehumidifier pulls moisture. The difference is capacity, and capacity is everything.
We run Dri-Eaz, Phoenix, and B-Air equipment on Lodi jobs. These units are built for full-time restoration work: hundreds of cubic feet per minute of airflow, low-grain refrigerant dehumidifiers that pull water out of the air down to a dry standard, and in-wall injection systems that reach spaces a rental fan never will. A rental fan from the hardware store moves air around a room. A professional-grade air mover, positioned correctly, creates airflow across a wet surface that is engineered to maximize evaporation. One unit can move as much air as several box fans, but more importantly, it moves air in the right place, at the right angle, against the right material.
There’s also the question of water extraction. Homeowners with a wet carpet use a shop vacuum. It pulls some water. A professional extraction unit pulls most of the water, and the difference in the drying time between “some” and “most” is measured in days, not hours. Every day a wet carpet pad sits on a subfloor is a day the moisture wicks further into the structure.
Most professional-grade equipment is not available for rent. The units we use are commercial only, sold through restoration supply houses, and typically only to certified companies. The home center rental is not a cheaper version of the same tool. It’s a different tool, built for a different job. That’s the hard part for homeowners to assess without seeing both side by side, and partly why the DIY drying attempt usually goes too far before a professional is called.
Hidden Damage: What You Cannot See Without a Moisture Map
Water hides. It travels along subfloor edges, wicks up wall cavities, settles in the lowest corner of a sloped floor, and saturates the sill plate behind finishes. In a Lodi Cape Cod or a raised ranch, the water from a second-floor bathroom leak doesn’t stay upstairs. It follows the plumbing chase down into the first-floor ceiling, pools in the light fixture, and finds its way behind the wall below. You see the ceiling stain. You don’t see the wall cavity soaking behind it.
A moisture map is a room-by-room, material-by-material map of actual moisture readings. It’s the forensic piece of a professional drying job, and it does two jobs at once. It tells the crew exactly where to direct drying, and it tells the owner and carrier what was wet, how wet, and when it reached dry standard. This is the documentation we hand over.
The DIY version of a moisture map is a hand placed on drywall. It tells you nothing about what’s behind the drywall. We’ve taken on mitigation jobs in Lodi where a homeowner had “dried everything out” after a washing machine overflow three weeks earlier. The surface was dry. The meter reading six inches above the baseboard told a different story. The drywall was at 18 percent moisture content and rising near the floor line. That house needed the wall cut open, and the homeowner had been living in it, breathing it, for weeks.
It’s not that homeowners are careless. It’s that moisture moves in ways that are invisible to the eye and the hand. Measurement is the only honest answer, and measurement requires equipment and training the average homeowner doesn’t have at home.
A Step-by-Step DIY Protocol (For the Genuinely Small Spill)
There is a place for DIY. If you catch a clean-water spill immediately, and it’s a few gallons or less, and it’s on a hard surface or a small area of carpet, you can handle it. Here is the full protocol, the same one we would tell a homeowner who called in and described this exact situation.
- Stop the source first. Shut the valve, turn off the appliance, or close the main if you have to. Water still flowing into the house resets your clock back to zero and adds more water every minute.
- Move everything out of the wet area. Furniture, rugs, boxes, shoes, anything sitting on the floor. The longer items sit in contact with wet flooring, the more they wick and the more damage you accept.
- Extract what you can. Use a wet-dry shop vacuum on the carpet, towels and a mop on hard floors. Wring everything out, then do another pass. The goal is removal, not spreading.
- Run a fan directly at the wet spot. Not a ceiling fan. You want airflow across the surface. Angle the fan down, close to the floor, so air moves across the wet material and carries moisture away.
- Run a dehumidifier in the room. Close windows and doors. Outdoor air in Lodi during summer defeats the whole process. You want the dehumidifier taking moisture out of the enclosed space while the fan drives it off the surface.
- Check for swelling or odor after 24 hours. If baseboards are separating, laminate is buckling, drywall is soft, or the smell is getting worse instead of better, stop the DIY and call a professional. You’ve already lost the race.
That last step is the important one. The honest assessment. If the material hasn’t responded within a day, more airflow is not the answer. The water is somewhere a fan can’t reach, and cutting corners now is not frugality. It’s deferring the costs with interest.
Common Mistakes to Avoid
- Opening windows to “dry things out.” In a Lodi summer, you’re inviting humidity inside and slowing the drying process. In winter, you’re wasting heat and doing almost nothing for evaporation. Close the room and control the environment.
- Hiding the water damage from your insurer. A homeowner who “doesn’t want my premium to go up” and hides the damage now will have a much harder claim when the same area fails structurally in two years. Document it, file it, and let the policy do its job.
- Using a household vacuum on wet carpet. Standard vacuums are not built for water. You risk electrical shock and you’ll destroy the machine. Use a wet-dry shop vacuum or call a professional with extraction equipment.
- Trusting the “touch test” to declare the job done. A surface that feels dry to the hand can still be at 20 percent moisture content six inches below. If you didn’t measure it, you didn’t dry it.
- “Letting it air out for a couple more days.” Every day of standing moisture is another day of material breakdown and mold opportunity. The professional drying standard exists because materials need to reach dry quickly, not whenever it happens.
- Pulling out baseboards without knowing what you’re doing. There can be wiring behind baseboards, the baseboard itself may be load-bearing, and the act of ripping it off often breaks the material permanently. If you’re at the point of pulling finishes, you are past the point of DIY.
- Hiring the cheapest mitigation bid without checking credentials. Lodi has plenty of “handymen with a Shop-Vac” who will show up, spray some bleach, and leave. You want IICRC-certified technicians with the equipment and the documentation to back the job. A cheap mitigation is not a square deal; it’s a future problem.
When to Call a Professional
You should call a professional restoration company when the water has been sitting for more than 48 hours, when water has touched drywall or subfloor or anything porous that you can’t fully remove, when the source is sewage, floodwater, or anything in Category 2 or 3, when you smell mustiness a day after the spill, or when you can see mold. You should also call when the cleanup involves a finished basement in an older Lodi home, where the framing and finishes are more susceptible to wicking and the access is tighter. None of these scenarios get better with a rental fan and patience. Floodline Restoration Co. offers free estimates in Lodi and we answer the phone with a live person, 24/7. Call (640) 356-1140 and describe what you’re looking at. We’ll tell you honestly whether it’s worth a service call or whether a few hours of careful work will do.
Frequently Asked Questions
Yes, for a small clean-water spill you catch immediately on a hard surface or a limited carpet area. The fan and dehumidifier will work if you start immediately, contain the space, and check for material swelling or odor within a day. For anything larger, older, or involving walls, the rental equipment won’t reach the trapped moisture. Call (640) 356-1140 if you’re not sure whether your situation is in the DIY range.
Mold can begin germinating within 24 to 48 hours on wet organic materials under the right conditions, which is why the first 48 hours are the cleanup window. After that, the job is no longer just drying; it’s remediation with containment and removal. In Lodi’s summer humidity, the timeline can accelerate.
Most homeowners policies cover sudden and accidental water damage from things like burst pipes or supply line breaks, but not long-term leaks or floodwater from outside unless you have a separate flood policy. What matters for any claim is documentation: photos, a moisture log, and a written scope. Floodline Restoration Co. bills the carrier directly and gives you and the adjuster the moisture log from day one, so no one has to guess what happened.
A mitigation company extracts the water, dries the structure, and documents the moisture readings to dry standard. A general contractor rebuilds what was removed. When these are two different companies, the homeowner has to manage the handoff and explain the moisture log to someone who didn’t perform it. Floodline Restoration Co. handles both ends, from the extraction through the Floodline Restoration Co. home rebuild, with the same crew reading the moisture map on day one and handing you the keys when the rebuild is done.
Bleach is not an effective mold remediation agent on porous surfaces like drywall or wood. It can discolor surface mold but it doesn’t kill the roots inside the material, and on porous surfaces it adds moisture that makes the problem worse. Professional mold remediation uses containment, HEPA filtration, and removal of the affected material, not a spray bottle. In a finished Lodi basement, that approach is especially important because the space is enclosed and the mold will spread through the HVAC system.
A moderate clean-water event in a Lodi home, like a burst supply line or a water heater leak caught the same day, typically ranges from $1,800 to $5,000 depending on how much drywall and flooring need removal and replacement. The final number depends on the extent of the moisture, the age of the home, and whether the water was clean or contaminated. Estimates are free and we put the scope in writing before work starts. Call (640) 356-1140 for an exact quote.
The Bottom Line
DIY restoration has a narrow lane. If the water is clean, the volume is small, and you catch it immediately, a wet-dry vacuum and a rental fan can do the job. Everything beyond that narrow lane carries hidden costs that don’t show up on a rental receipt. Water that sits in a wall, a floor cavity, or a finished Lodi basement becomes a biological problem within days. The honest test is whether you can measure the moisture, document the drying, and prove to your insurer the job is done. If you can’t, the professional call is not the expensive option. It’s the cheaper one, paid once, done in writing, and backed by a company that answers the phone when you call. That’s the square deal, and we stand behind it.
Written by Curt Bowman, Owner at Floodline Restoration Co., serving Lodi since 2010.