
Last updated August 25, 2026
Free visual inspection and a written scope of work before any mitigation begins - photos, moisture readings, and drying logs go in your claim file
The scope we write is the scope we bill. Anything new gets shown to you, in writing, before we touch it.
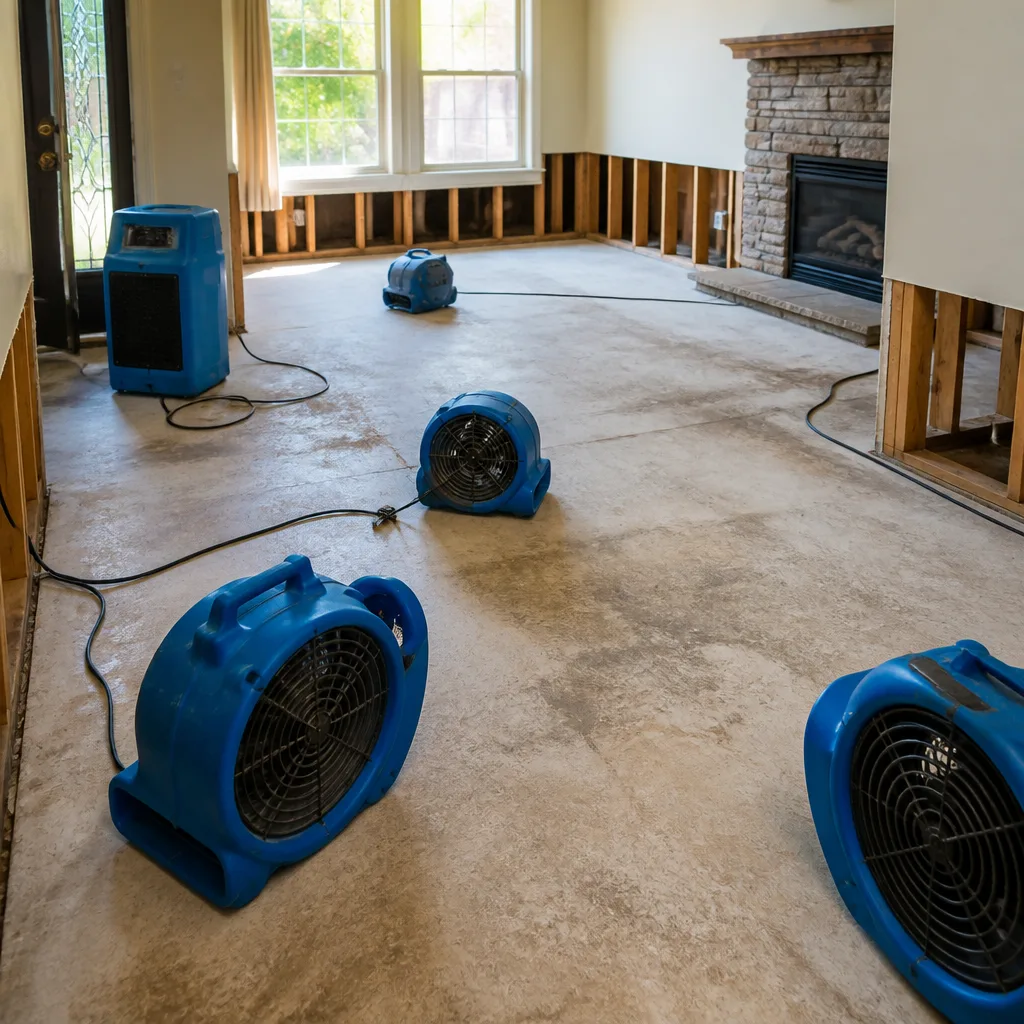



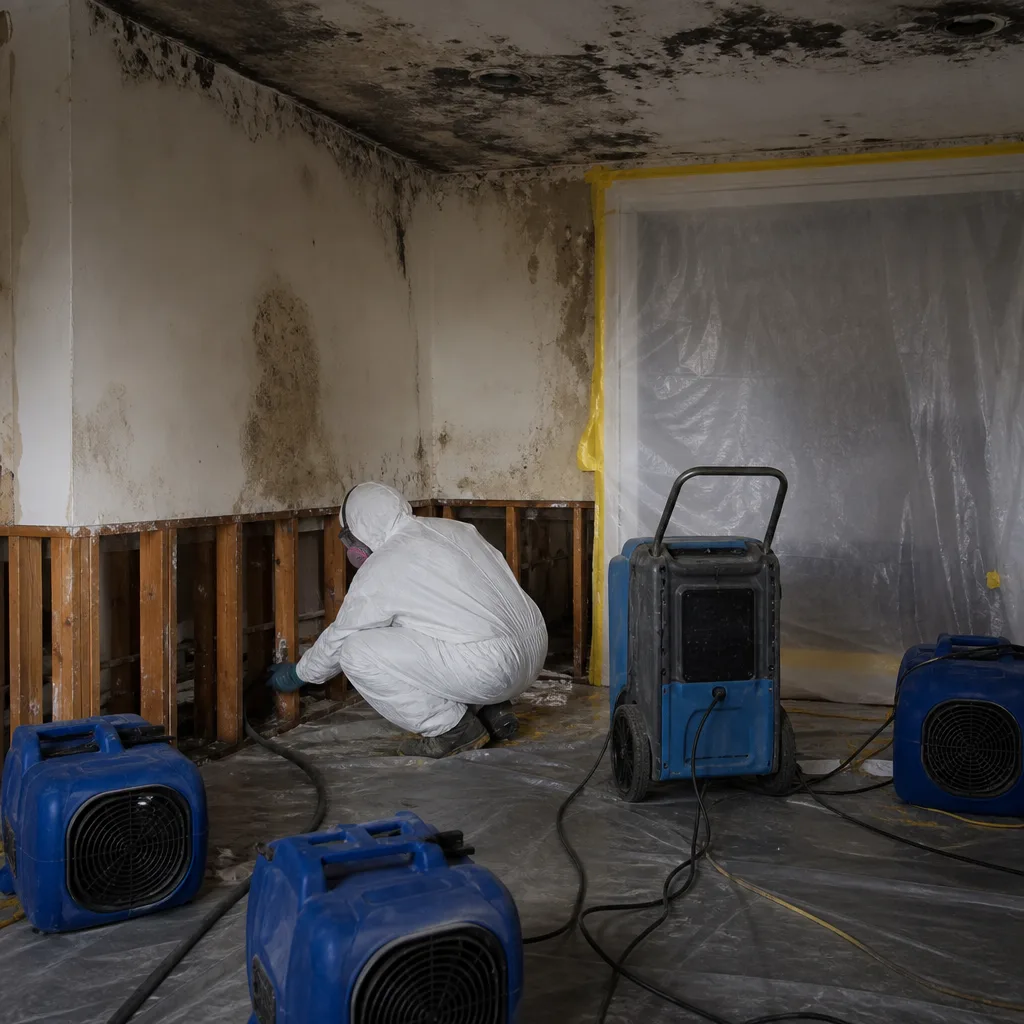 Before
 After
After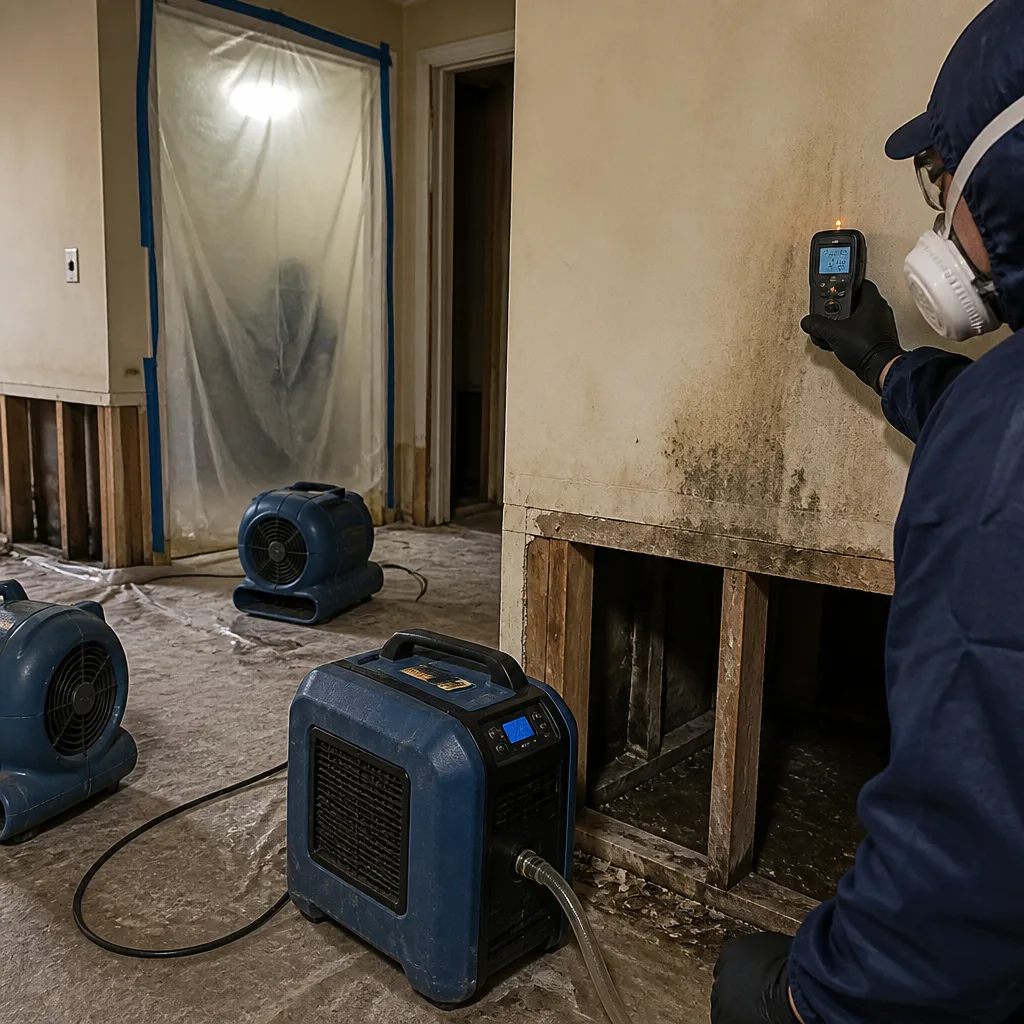 Before
 After
After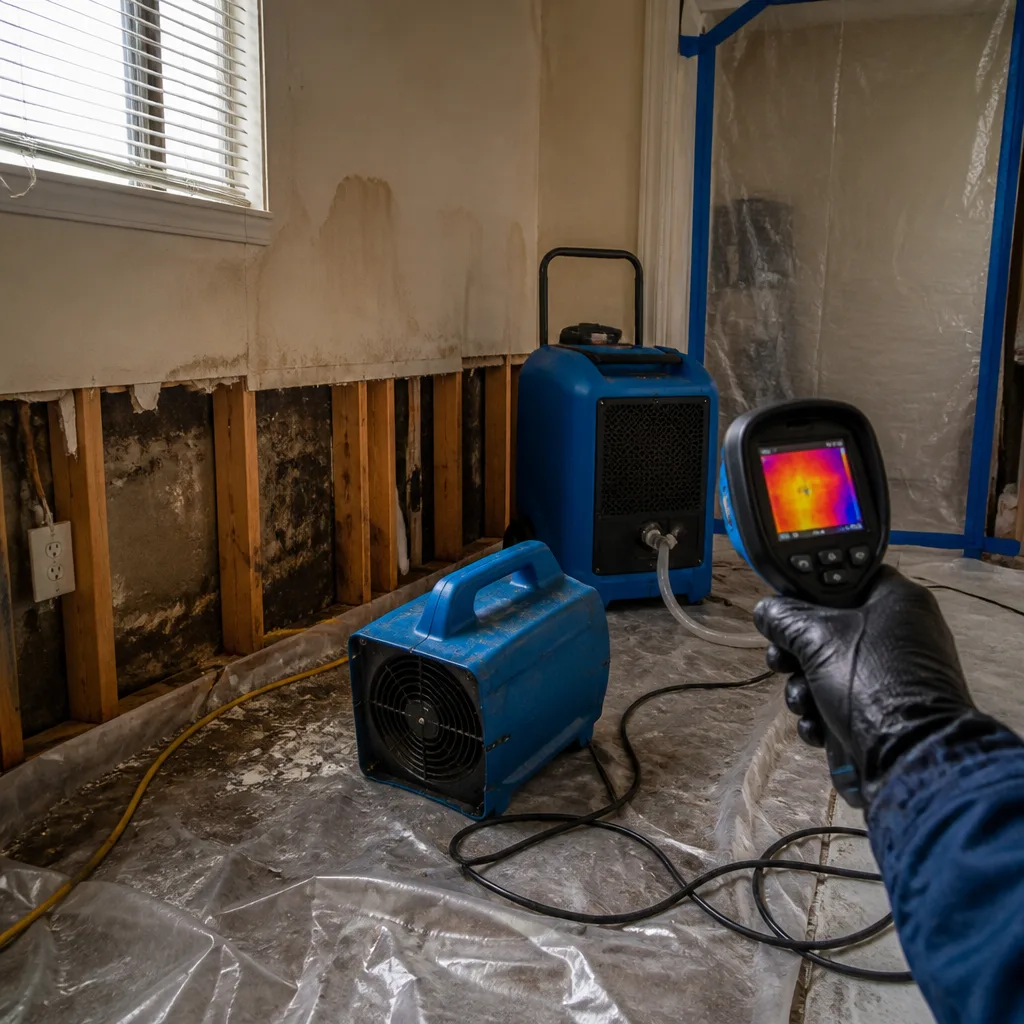 Before
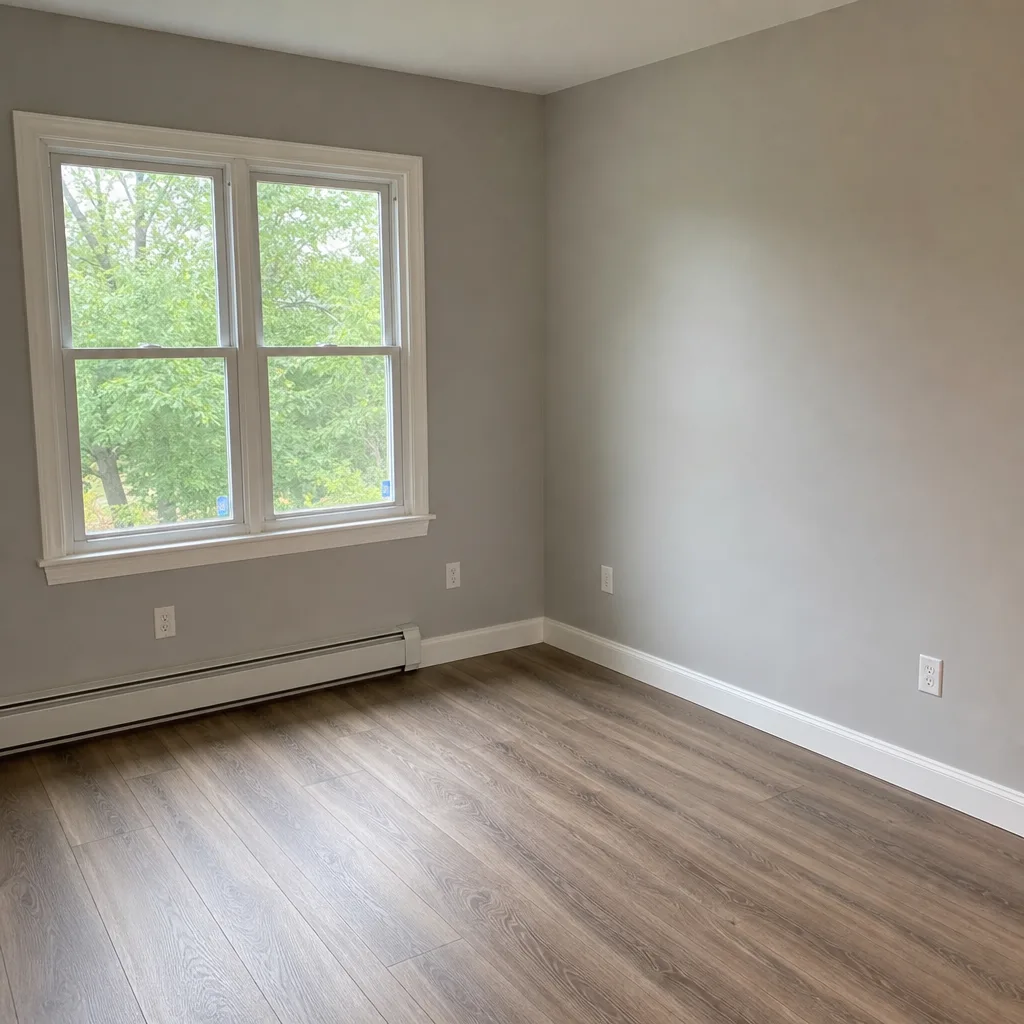 After
AfterWater Damage Restoration Maintenance Checklist for Lodi Homeowners
Most Lodi homeowners don’t lose a living room to a single dramatic flood. They lose it to a slow drip behind the washing machine that ran for six weeks before anyone noticed the baseboard swelling. In our 42 years of answering calls like that one, the pattern holds: water damage is rarely the disaster you see. It’s the one you don’t. This guide gives you a maintenance checklist built around how water actually moves through Lodi homes in the Meadowlands climate, how to catch the small failures before they become restoration projects, and what to do the day you find the line the water left.
Quick Answer
A practical water damage maintenance checklist for Lodi homes comes down to six recurring tasks: inspect supply lines and appliance hoses twice a year, test the sump pump every spring before the wet season, clean gutters and downspouts in late fall, check ceilings and under-sink cabinets monthly for stains, know where your main shutoff valve is, and act within 24 hours of finding any active leak. Most water damage in Lodi is preventable with about two hours of attention a year, and the failures that remain tend to be old washing machine hoses, water heater corrosion, and clogged gutters backing water against the foundation.
Table of Contents
- The Seasonal Rhythm of Water Damage in Lodi
- The Interior Home Checklist: What to Check Monthly
- Appliance Hoses and Supply Lines: The Most Common Failure Point
- Basements, Crawlspaces, and the Lodi Water Table
- Gutters, Downspouts, and Foundation Grading
- Detecting Hidden Water Damage Before It Spreads
- What to Do When You Find Water Damage
- Common Mistakes to Avoid
- When to Call a Professional
- Frequently Asked Questions
- The Bottom Line
The Seasonal Rhythm of Water Damage in Lodi
Lodi sits in the Hackensack River floodplain, and anyone who has lived here through a wet October knows what that means. The water table sits high, the soil is dense, and when the rain comes for three days straight, the ground stops absorbing and starts pushing back. That hydrostatic pressure is what puts water through basement walls and up through slab floors on the low streets near the river side of Route 17. The seasonal pattern is predictable. Spring brings the thaw and the first heavy rains, which test sump pumps that sat idle all winter. Summer thunderstorms dump an inch of rain in twenty minutes and find every clogged gutter and low window well. Fall is the long, slow saturation season when the ground gives out and water finds the foundation. And winter’s freeze-thaw cycle splits outdoor spigots and the pipes in unheated crawlspaces.
Here’s the maintenance rhythm we recommend for Lodi homeowners:
- Early spring (March): Test the sump pump by pouring a bucket of water into the pit. Check the discharge line for clogs and make sure it points away from the foundation. Replace the pump if it’s more than seven years old.
- Late spring (May): Walk the exterior and check all hose bibs and outdoor spigots for freeze damage. Inspect window wells for debris and confirm the covers are intact.
- Late fall (November): Clean gutters and downspouts after most leaves have fallen. Disconnect and drain outdoor hoses. Shut off and drain outdoor spigots if your plumbing allows it, or install insulated covers.
- Winter (December-February): During hard freezes, keep cabinet doors under sinks open overnight on exterior walls and let faucets drip on the coldest nights. Know where your main shutoff is and make sure it turns freely.
The Interior Home Checklist: What to Check Monthly
The fastest water damage to stop is the one you see early. A monthly walkthrough takes ten minutes and catches most failures before they soak drywall, flooring, or the framing behind it. In our experience in Lodi, the houses that avoid restoration projects are the ones where someone actually looks under the sink once a month instead of once a year.
Monthly checklist:
- Under every sink: Run your hand along the shutoff valves and the supply lines. Feel for moisture, look for green corrosion on the valves, and check the cabinet floor for swelling or dark spots. Water in a cabinet is almost always a slow drip from a compression fitting that has been failing for weeks.
- Around water heaters: Look at the top of the tank where the nipples connect, the bottom of the tank for rust or weeping, and the floor around the base. A water heater in a Lodi basement typically lasts 8-12 years. Rust at the bottom seam means replacement time, not repair time.
- Ceilings below bathrooms: Stand in the room below each bathroom and look up. Water stains on a ceiling mean the wax ring on a toilet, the drain boot on a tub, or a supply line in a wall has already begun leaking. A three-inch stain can mean a much larger wet area hidden behind the drywall.
- Around windows and doors: During and after heavy rain, run a hand along the interior sill and the drywall beneath window frames. Lodi gets wind-driven rain, and failed caulking or flashing lets water run inside the wall cavity and down to the sill plate.
- Washing machine area: Every month or two, pull the machine out a few inches and check the supply hoses and the drain connection. Rubber hoses bulge before they fail. If you see a bubble in the hose wall, replace it that day.
- Refrigerator and dishwasher areas: Look for water under the appliance, check the dishwasher door gasket for cracks, and feel the floor in front of the refrigerator for unexplained moisture from a failed icemaker line.
Appliance Hoses and Supply Lines: The Most Common Failure Point
If we had to name one thing that causes more water damage in Lodi than any other single source, it’s the rubber supply hose behind a washing machine. These hoses are the most overlooked component in the house. They sit in a dark space, they stay under pressure 24 hours a day, and when they fail, they release between 600 and 700 gallons of water per hour depending on your water pressure and the hose diameter. A failure while you’re at work means about 4,800 gallons by the time you walk back through the door. That’s not a puddle. That’s a restoration project that reaches into drywall, baseboards, flooring, and whatever was stored in the adjacent room.
What to check and do:
- Locate every appliance supply line in the house: washing machine, dishwasher, refrigerator icemaker, and any sink with a pull-out sprayer.
- Identify the hose material. Rubber hoses have a service life of 3-5 years. Braided stainless hoses typically last 10 years or more and should still be inspected because the rubber liner inside can fail while the braid hides it.
- Look for bulges, cracks, rust at the couplings, and any dark staining where the hose meets the fitting. Replace anything questionable immediately.
- Install a water hammer arrestor or a pressure regulator check if your home’s water pressure exceeds 80 psi. High pressure shortens hose life and stresses every fitting in the house. Most Lodi homes run at 50-70 psi, but we’ve tested homes above 90.
- Consider an automatic shutoff valve at the washing machine. These devices sense excess flow and close the supply line before a full rupture dumps hundreds of gallons. They cost a fraction of the average water damage restoration.
Basements, Crawlspaces, and the Lodi Water Table
Lodi’s geography makes basements and crawlspaces the front line for water intrusion. The water table in parts of the borough sits within a few feet of the surface, and during heavy rain the ground reaches saturation fast. When the soil can’t hold more water, hydrostatic pressure pushes it through the path of least resistance: floor cracks, cove joints where the wall meets the floor, and the porous concrete block used in many of Lodi’s older homes.
What to inspect in a basement or crawlspace:
- Floor cracks: A crack wider than a dime or one that shows white mineral streaks has moved water before and will again. Monitor it with tape or a pencil mark to see if it’s widening.
- Cove joint and wall-floor seam: This is where hydrostatic pressure enters during a high water event. Look for staining, bubbling paint, or efflorescence (white powder) on the lower 12 inches of basement walls.
- Sump pump operation: Pour five gallons of water into the pit and confirm the float rises, the pump activates, and the water discharges outside. Check the discharge line’s exit point and make sure the water flows at least six feet away from the foundation. A pump that runs every few minutes during dry weather may indicate a high water table rather than a pump failure. That’s a drainage issue, not a mechanical one.
- Crawlspace vapor barrier: If your Lodi home has a crawlspace, the plastic sheeting should cover the entire ground surface and lap up the foundation walls by six to twelve inches. Standing water on the barrier means the crawlspace needs drainage correction and possibly a sump pump.
- Dehumidifier performance: Basements in Lodi with high humidity (above 60%) attract mold and rot even without visible standing water. A dehumidifier sized for the square footage, drained continuously to a floor drain or sump pit, keeps the moisture load below the threshold where wood and drywall begin to degrade.
Gutters, Downspouts, and Foundation Grading
When we respond to a basement water intrusion in Lodi, the first thing we look at is not the basement. It’s the roofline and the ground around the foundation. In roughly half the cases, the water didn’t come from a high water table or a plumbing failure. It came from gutters that haven’t been cleaned in two seasons or downspouts that dump water at the foundation corner. A single clogged downspout can redirect hundreds of gallons of roof runoff against one corner of the house during a single storm, and that water follows the foundation wall straight into the basement or crawlspace.
Maintenance steps that prevent this:
- Clean gutters twice a year, at minimum. Late fall after leaf drop and mid-spring after the first heavy pollen and seed season. Lodi’s street trees, particularly the older maples and oaks on the residential blocks near Memorial Park, fill gutters with debris by November.
- Check downspout extensions. Every downspout should discharge at least six feet from the foundation. If the extension is missing, collapsed, or buried under mulch, water pools at the footing and finds its way in.
- Look at the soil line against the foundation. The ground should slope away from the house at least six inches over the first ten feet. Over years, soil settles and creates a negative grade that channels runoff toward the foundation wall. Correct it with fill dirt, not topsoil, and keep the new grade below the sill plate.
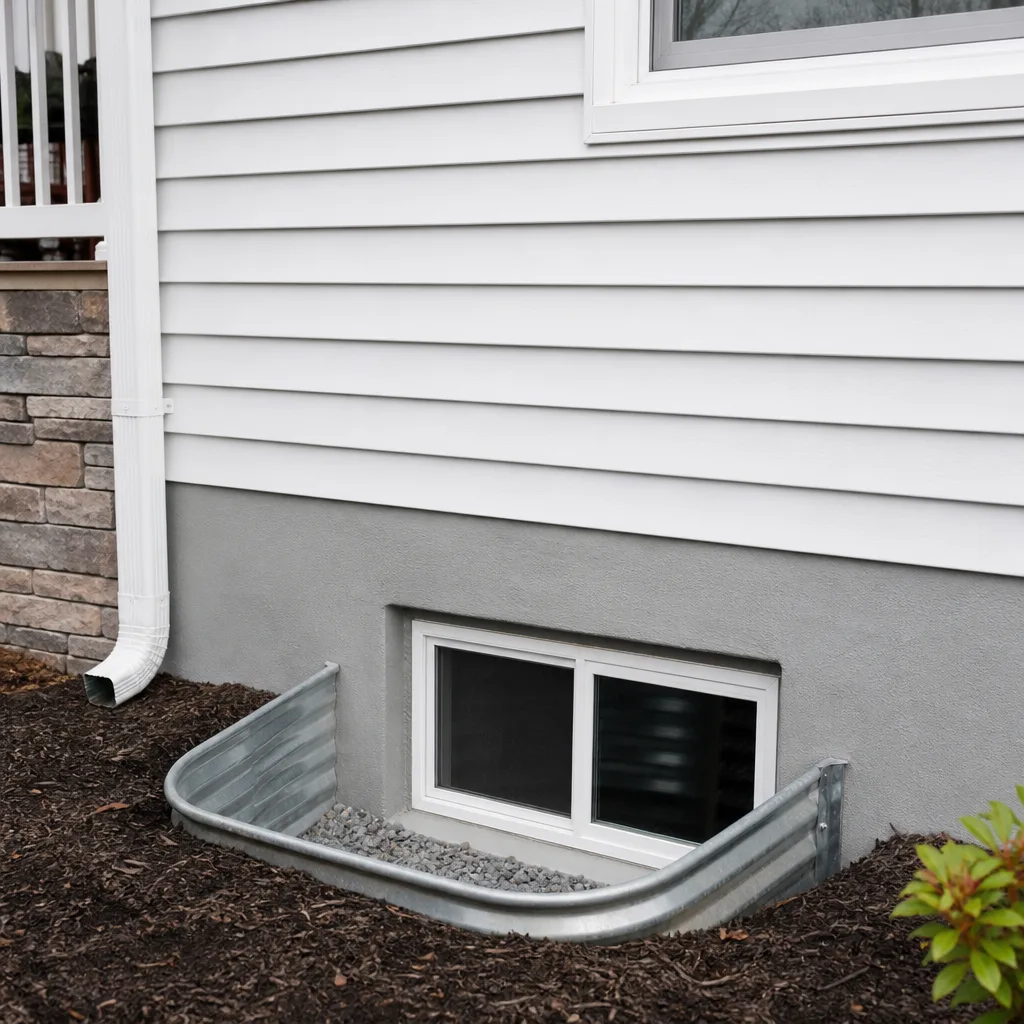
- Check exterior drains and window wells. If your Lodi home has window wells, confirm the covers are solid and the drains at the bottom of the well are clear. A window well that fills with water in a summer thunderstorm leaks through the window and into the wall cavity.
- Inspect the roof edge and flashing. Missing shingles, lifted flashing at roof valleys, and clogged gutters all route water somewhere it shouldn’t be. A roof inspection once a year catches the small failures before they become ceiling stains.
Detecting Hidden Water Damage Before It Spreads
Hidden water damage is the kind that costs the most. It’s the leak behind a shower wall that has been quietly feeding mold for a year before the tile cracks. It’s the supply line in the ceiling cavity that drips onto the top plate and spreads sideways before it ever shows a stain. Lodi’s older housing stock, much of it built between the 1940s and 1970s, has plaster and lathe or rock lath construction that hides moisture longer than modern drywall. By the time you see the stain, the wet area behind the wall is typically several times larger than the visible mark.
Signs of hidden water damage to look for:
- Smell: A persistent musty or earthy odor in a room, a closet, or an area near the bathroom is organic material decomposing in a wet environment. It’s often the first sign of a leak that hasn’t revealed itself visually.
- Bubbling or peeling paint: Paint that loses adhesion to a wall or ceiling in patches, especially in a bathroom, kitchen, or below a window, indicates water vapor or direct moisture behind the paint film.
- Warped flooring or baseboards: Hardwood that cups, laminate that swells at the seams, or baseboards that pull away from the wall are all signs of water moving through the subfloor or the wall base.
- Doors that stick or don’t close properly: When framing absorbs water, it swells. A door that suddenly won’t latch in a basement or first-floor room can mean the surrounding framing is wet.
- Higher water bills: A sharp, unexplained increase in the water bill month over month without a change in usage points to a running toilet, a pinhole leak in a pipe, or a slab leak. Lodi’s local billing is monthly, so the change shows up quickly.
- Cold spots or dampness on drywall: A wall that feels cooler than the surrounding surfaces or shows a slight moisture sheen in humid weather may have water in the cavity.
For active leaks, a moisture meter is the tool that settles the question. Professional-grade meters from brands like Dri-Eaz measure moisture content inside materials without damaging the surface, and they tell a restoration crew where the water actually is versus where it appears to be. You don’t need a professional meter to know something is wrong, but you do need one to know exactly how far it’s spread.
What to Do When You Find Water Damage
When you find water damage in your Lodi home, the clock is already running. The first 24 to 48 hours decide whether you’re dealing with a drying job or a rip-out-and-replace job. Water moves through drywall, wood, and insulation by capillary action, and the longer it sits, the more material it wicks into. That’s the window in which the Floodline Restoration Co. home team tells every Lodi homeowner the same thing: stop the source first, then call.
Step-by-step immediate actions:
- Stop the water. If it’s a plumbing failure, shut off the fixture valve, the appliance valve, or the main shutoff for the house. If you don’t know where the main is, find it before you need it. In most Lodi homes it’s in the basement, a utility closet, or a ground-floor exterior wall near the water meter.
- Cut the power if water is near outlets or wiring. Water and electricity don’t mix. If the water has reached an outlet, a power strip, or any fixture, shut off the circuit at the panel before you step into the water. This is a safety issue that matters more than saving the flooring.
- Move what you can. Lift furniture, rugs, boxes, and anything else porous off the wet area. The less material in contact with water, the less damage there is to restore and the lower the restoration cost.
- Extract standing water. A wet-dry vac handles puddles and shallow standing water. For deeper water or water that has soaked into carpet, pad, and subfloor, professional extraction equipment makes the difference. A household vac removes surface water. A truck-mounted unit pulls water from the pad and the subfloor.
- Call a professional who will start with the source, not the symptom. A real restoration crew arrives, finds the source, maps the moisture with a meter, and extracts with professional-grade equipment. The same crew that reads the moisture map on day one should be the one handling daily readings and the rebuild, so no one inherits someone else’s unfinished drying job.
- Document everything for insurance. Take photos of the affected area before anything is moved or removed. Photograph the source if it’s visible. Keep a written log of what happened and when. Direct insurance billing and thorough photo documentation simplify the claim, and a restoration company that coordinates with the carrier directly prevents the homeowner from playing messenger.
Common Mistakes to Avoid
- Waiting to see if it dries on its own. A wet wall cavity or saturated subfloor in Lodi will not dry fast enough on its own to prevent mold and rot, particularly in summer humidity. The drying window is shorter than most people think. Waiting for visual improvement while moisture sits in the framing is how a $900 drying job becomes a $14,000 rebuild.
- Turning off the dehumidifier too soon. Surface dryness isn’t dryness. Materials can feel dry to the touch while still holding enough moisture to support mold growth. Professional drying runs until moisture meters confirm the dry standard, not until the floor stops feeling damp.
- Replacing a washing machine hose only when it leaks. Rubber hoses fail under pressure, and the first sign of a problem is often the burst itself. Replace them proactively every three to five years, or switch to braided stainless and set a reminder to inspect the couplings annually.
- Blocking sump pump discharge with landscaping. A discharge line buried under mulch or redirected into a garden bed will back up against the foundation. The pump will run, the water will return, and the system becomes a recirculating fountain.
- Using household fans and towels for a significant water event. Moving air accelerates evaporation, which sounds helpful but actually drives moisture deeper into drywall and framing before it dries. Professional drying uses controlled airflow, temperature, and dehumidification in balance. Household fans alone push water vapor into the rest of the house.
- Covering a wet area with plastic or sealing the room. Trapping moisture creates a greenhouse effect that grows mold in days. The area needs controlled ventilation and active dehumidification, not containment without drying.
- Filing an insurance claim without a professional assessment first. A quick professional evaluation tells you whether the damage is under the deductible, over it, or somewhere in between, and what the restoration scope actually looks like. Guessing wrong can lead to a denied claim or an underpaid one.
When to Call a Professional
Call a professional when the water source is inside a wall, ceiling, or floor assembly; when standing water covers more than a few square feet; when the water has been present for more than 24 hours; when sewage or contaminated water is involved; or when the affected area includes electrical components you can’t isolate. These are the situations where the problem is larger than it looks, and the cost of delay compounds daily. Floodline Restoration Co. offers free estimates in Lodi. Call (640) 356-1140 and a live dispatcher will take the call, at any hour, every day of the week.
Frequently Asked Questions
Monthly interior checks of sinks, water heater areas, ceilings below bathrooms, and windows take about ten minutes and catch most slow leaks early. Seasonal checks of gutters, sump pumps, and exterior grading round out the schedule. In Lodi’s climate, the two highest-risk inspection windows are early spring after the thaw and late fall after leaf drop.
Washing machine supply hose failures are the single most common cause we see in Lodi, followed by water heater corrosion and sump pump failures during heavy rain. The common thread is age and inattention. Most failures involve components that were installed years ago and never inspected again.
Water damage restoration in Lodi typically ranges from $1,200 to $5,000 for moderate water extraction and drying, while larger events involving sewage, structural drying, and rebuild work commonly run higher depending on the square footage and materials affected. Every job is different, which is why a free, written estimate before any work starts is the rule. Call (640) 356-1140 for an exact quote specific to your house.
Most Lodi homeowners policies cover sudden and accidental water damage, such as a burst pipe or a failed supply line, and the restoration scope is documented and billed directly to the carrier. Gradual leaks, flood damage from rising groundwater, and neglect are generally excluded. A photo-documented assessment with a written scope makes the claim process straightforward.
Floodline Restoration Co. answers every call with a live dispatcher, 24 hours a day, and a certified crew reaches most Lodi homes the same visit. The first extraction typically starts within hours of the call, not days, and that speed is often the difference between drying and rebuilding.
If the water is on a surface and hasn’t soaked into drywall, flooring, or the cavity behind the wall, a small leak can sometimes be handled with a wet-dry vac and a household dehumidifier. If the water has penetrated any building material, the area needs professional moisture mapping and controlled drying. Surface drying rarely reaches what’s underneath, and hidden moisture is what leads to mold and structural damage.
The Bottom Line
Water damage in Lodi is predictable, preventable, and time-sensitive. The maintenance that prevents it costs almost nothing: checking hoses, cleaning gutters, testing the sump pump, and walking the house once a month. The cost of ignoring those small tasks compounds into restoration projects that reach into framing, flooring, and the spaces you can’t see. When water does find its way in, the first 24 to 48 hours decide the scope of the repair. Stop the source, document the damage, and get a professional assessment before the water spreads. That’s the whole philosophy: catch the small failures early, respond hard and fast when they break through, and hold the people who do the work to a written standard.
Written by Curt Bowman, Owner at Floodline Restoration Co., serving Lodi since 2010.